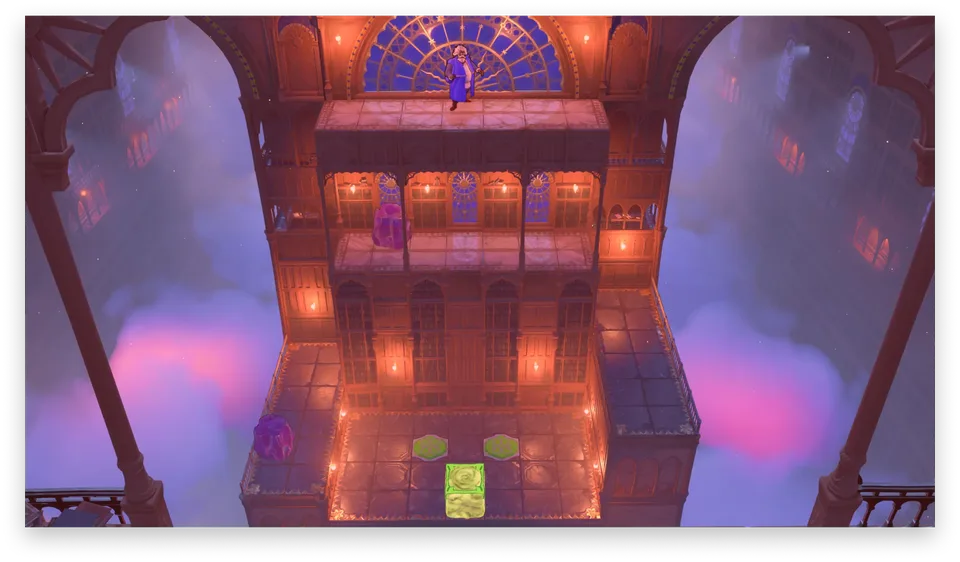
Order of the Sinking Star: Heroes of Hauling Walkthrough (North World)
Stuck on the North World in Order of the Sinking Star? Our comprehensive Heroes of Hauling walkthrough details every puzzle solution for Screens 1-4 to help you progress.
Published: Order of the Sinking Star Wiki Editorial Team
Table of Contents
Understanding the Heroes of Hauling
The "Heroes of Hauling" serves as the North World in Order of the Sinking Star. As an expansive narrative puzzle game developed by Thekla, Inc., this area introduces complex mechanics that require careful coordination of different hero classes—warriors, mages, and others—to manipulate crystals and reach exit teleporters.
This region is divided into multiple screens, each increasing in complexity. Success relies on understanding how to use specific hero powers to push, pull, or swap positions with crystals to clear barriers and activate switches. If you are struggling with a specific sequence, the key is often to reset your position and observe the interaction between the hero and the environment.
Screen 1: Puzzle Series Walkthrough
Screen 1 acts as your introduction to the core mechanics of the North World. It is divided into three distinct series of puzzles: Middle, Right, and Left.
Middle Series
The Middle Series focuses on basic crystal manipulation.
Puzzle #1: Use your Red hero to push the two crystals to the right, clearing a path to the teleporter.
Puzzle #2: This requires sequencing. Push the first two crystals right twice, then maneuver the right crystal down. In the final chamber, push the crystal on the teleporter down to activate it.
Puzzle #3: Focus on the yellow button. Move your hero to the right of the crystal and push it left four times to land it on the button, which deactivates the yellow barrier.
Right Series
This series introduces pulling mechanics.
Puzzle #1: Utilize your Green hero to pull the two crystals left, unlocking the teleporter.
Puzzle #2: This requires multi-step navigation. Pull the first crystal left, move around it to access the second chamber, and eventually pull the pink crystal onto the yellow button to deactivate the barrier.
Puzzle #3: This puzzle involves extensive pulling. You must move around the crystal to pull it in specific directions (left, down, up) to eventually leave it on the button, keeping the barriers deactivated while you move to the teleporter.
Left Series
The Left Series introduces the "swap" mechanic, which is crucial for moving through tight spaces.
Puzzle #1: Swap your Purple hero with the two crystals to reach the teleporter.
Puzzle #2: Use the swap mechanic to move the hero into the same row or column as the crystal. Pressing the movement key against the crystal will swap your positions.
Puzzle #3: Navigate to the green button in the bottom-left corner and use swaps to reach the room with the teleporter.
Screen 2: Advanced Mechanics
Screen 2 ramps up the difficulty by requiring you to juggle multiple characters and complex button sequences.
Bottom Series
Puzzle #1: Use your Red and Purple heroes to press the top and bottom buttons simultaneously. Control the Purple hero to swap with the Red hero to reach the teleporters.
Puzzle #2: This is a coordinated effort. Use Red to push crystals and Green to pull them. You must alternate control to clear the hallway and eventually push the final crystal onto the bottom button.
Bottom-Right and Top-Right Puzzles
Bottom-Right Puzzle: Focus on using the Purple hero to swap with crystals to place them on buttons. You will need to move off and back onto buttons to trigger barriers and destroy obstructing crystals, clearing the way for Red and Green.
Top-Right Puzzle: To reach this, you must navigate the overworld to swap powers. Once inside, the solution involves a series of swaps and pulls to get the crystal onto the yellow button, removing the barrier.
Left Series (Screen 2)
This is the final hurdle of the second screen.
Puzzle #1: Position your heroes on the blue buttons (Purple left, Green middle, Red right). Swap Purple with the crystal, then use Red to push the crystal onto the right button.
Puzzle #2 & #3: These puzzles require precise character positioning. You must swap characters to move crystals into specific cells or onto buttons. Pay close attention to which hero you are controlling; a common mistake is swapping into a position that blocks your own path.
Navigating to Subsequent Screens
Once you have cleared the Left Series in Screen 2, you must address the overworld obstacle. Push the red crystal in the bottom-right corner of the overworld onto the blue button located near the Left Series. This action deactivates the nearby blue barrier, granting you access to the next major areas: Heroes 2: Monsters and Heroes 3: Bard, Druid.
Mastering the Swap
When playing as the Purple hero, remember that swapping is your primary tool for repositioning. If you find yourself stuck, check if you have swapped with the crystal in the correct order. Often, swapping from a specific side is the only way to move a crystal into a confined space.